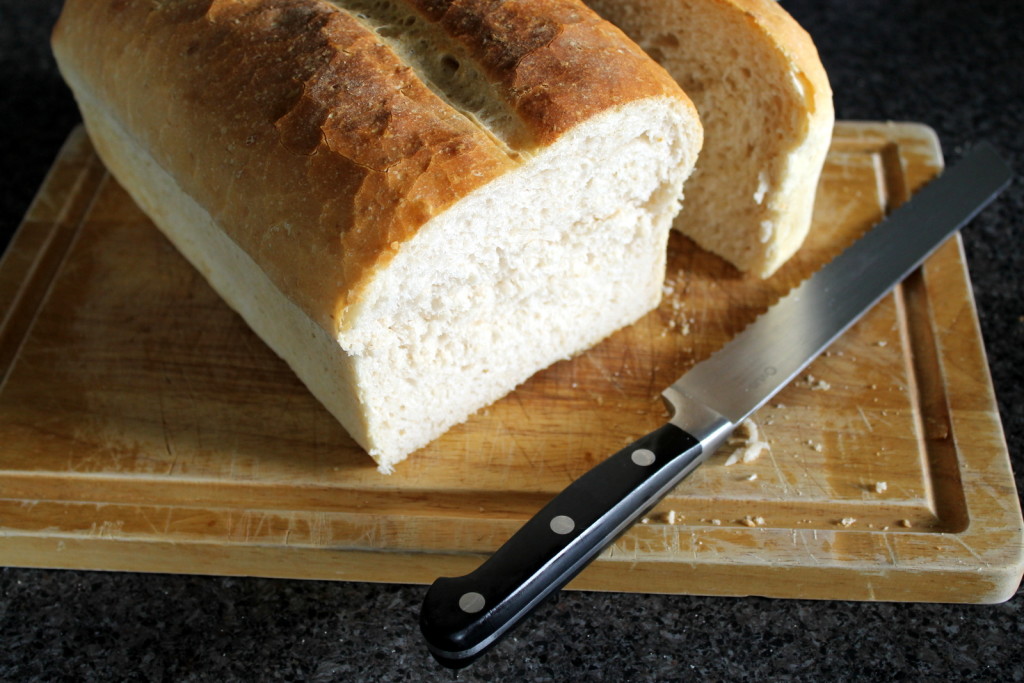
Click the links for more info. If you just want the recipe, keep scrolling.
I’ve recently (the past few months) got into making and baking sourdough bread. To make sourdough bread you use a sourdough starter to lift your loaf instead of commercial yeast.
So the first step is to obtain or make your own sourdough starter. I tried making my own years ago and failed and gave up. This time I used Debra Wink’s pineapple method which uses just a few tablespoons of flour to get the starter going, much less wasteful than the methods I had tried before.
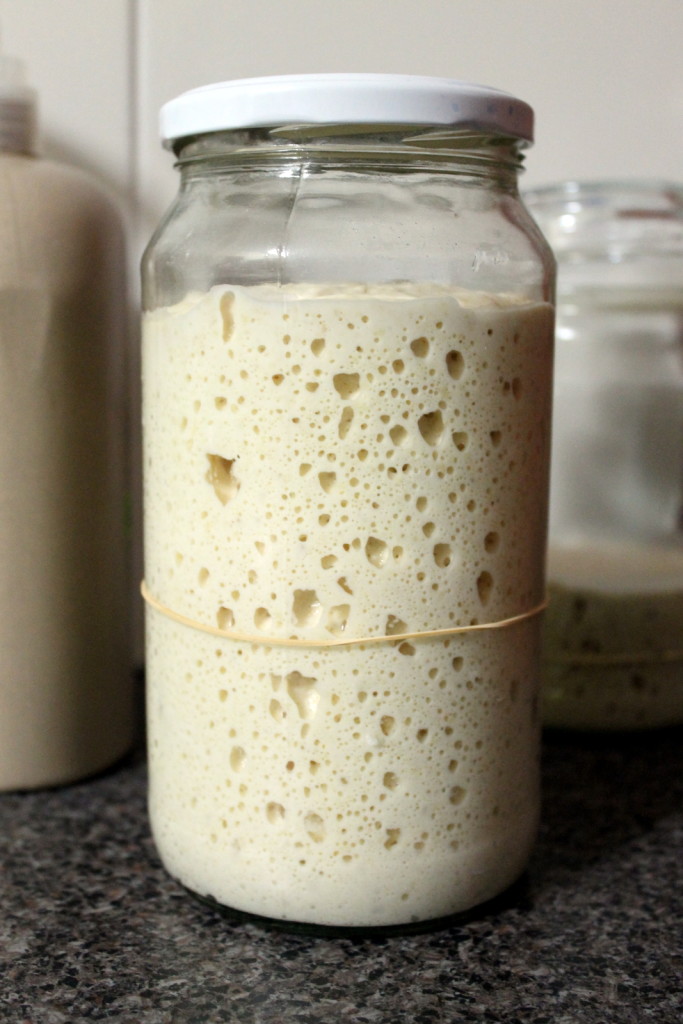
When your starter is 2-4 weeks old, and doubling after each 12-hourly feed, then you can try baking with it. There are a million recipes for sourdough bread online. I tried a few: the easy no-knead dutch oven round loaf, the basic sourdough bread… all OK, tasty, but a bit flat and not quite what I was looking for. I wanted a simple sandwich loaf for our family.
I kept baking and reading and watching. I baked regular bread loaves using yeast instead of starter. I bought some high protein bread flour and digital scales. I made a plastic scraper from an empty plastic container.
Then I tried this recipe which, unlike the ones I had tried before, uses a sponge, sort of like a large watery starter, and I cut out a couple steps after reading this recipe.
WOW.
What a difference.
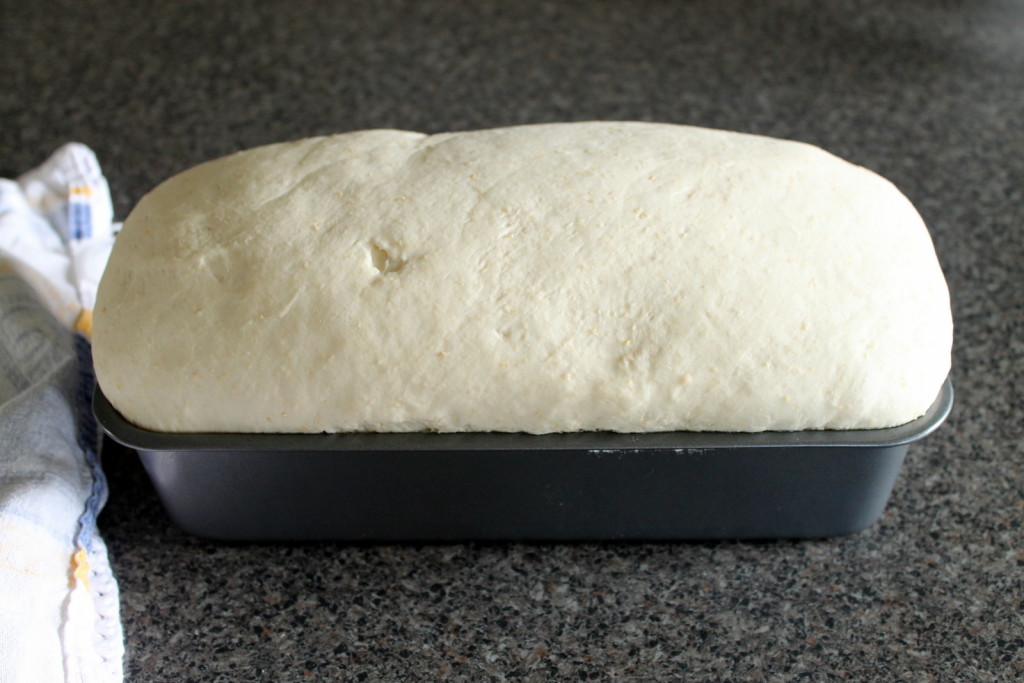
I was amazed when the dough more than doubled in size after less than 4 hours and threatened to spill over the edge of the largest loaf tin I had.
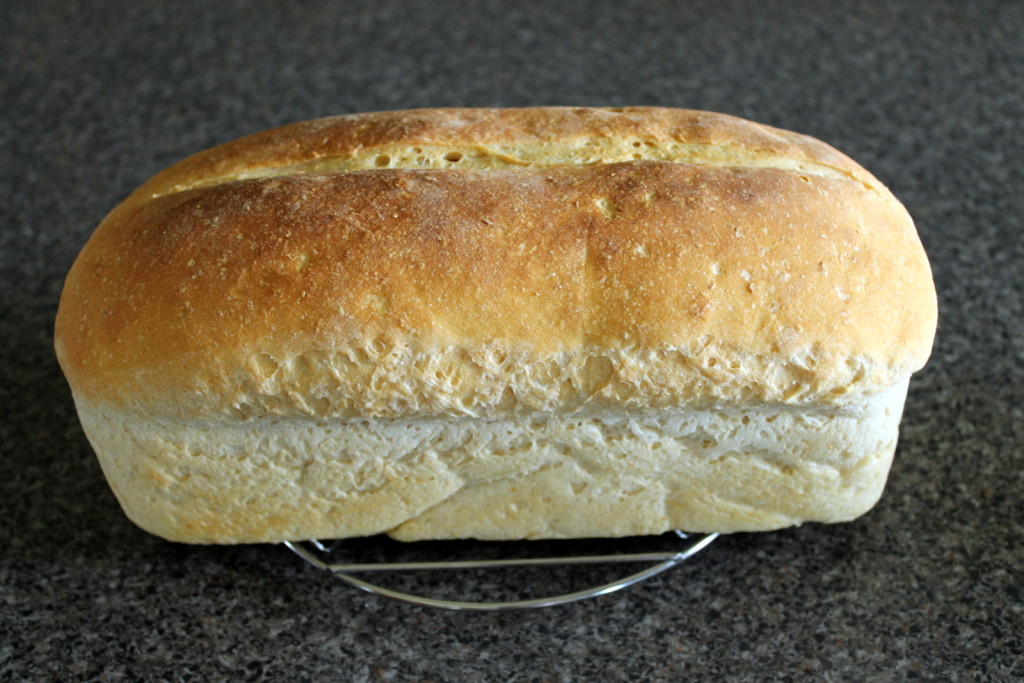
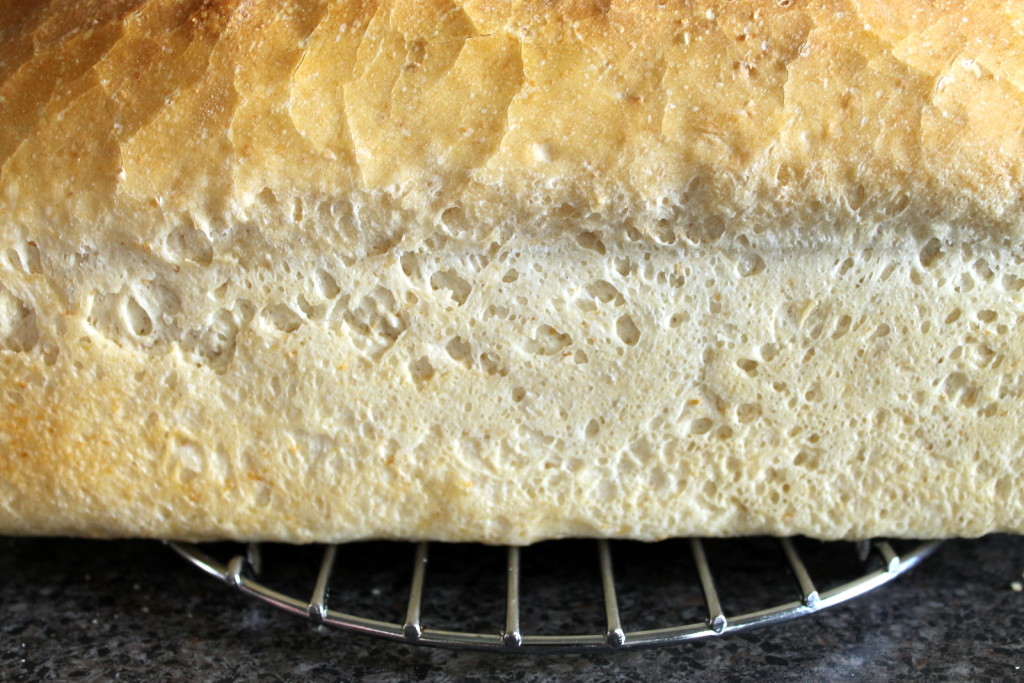
So let me add to the million sourdough recipes online. Here I present my own super simple sourdough sandwich loaf recipe.
Super Simple Sourdough Sandwich Loaf
Ingredients
0.5 cup starter (100g)
Just under 2.5 cups warm water* (500g)
Just over 2.5 cups white bread flour (375g)
…
Just over 3 cups white bread flour (450g)
2 heaped teaspoons salt (15g)
Method
In the evening, take 1/2 cup of starter from the fridge and mix it with the water, and then the flour, in a large bowl. Cover and leave out to ferment overnight. This is your sponge.
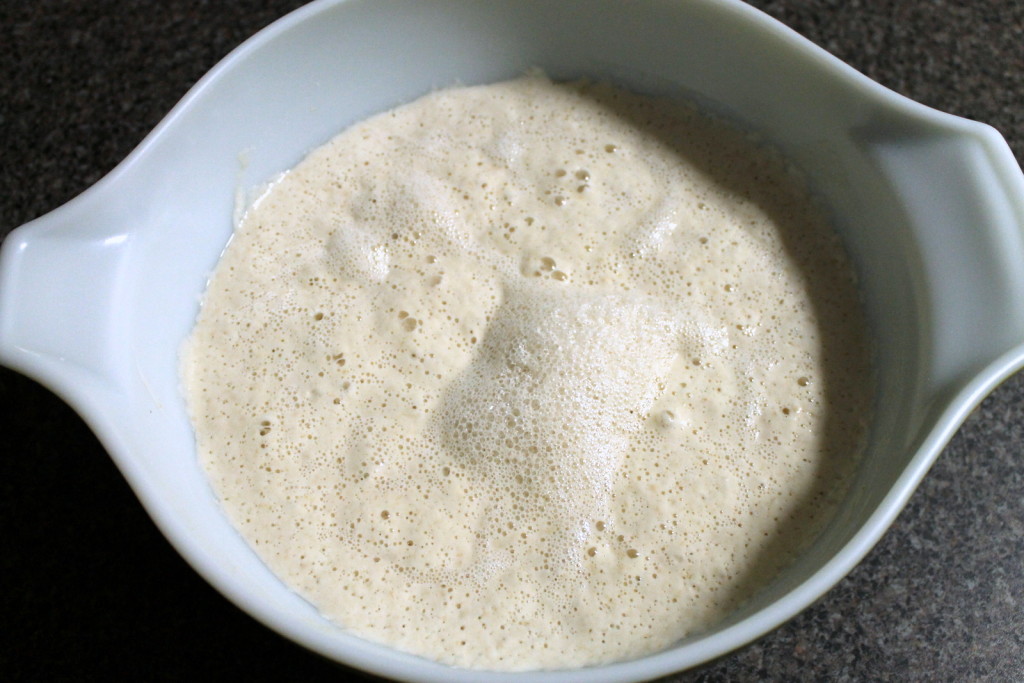
In the morning you should see heaps of bubbles.
Add the rest of the flour to your sponge. Mix, cover, and have breakfast or wait 30-60 minutes.
This wait is called the “autolyse” and I used to skip this not understanding the difference it made to the dough. It makes ALL the difference if you’re a newbie like me. It makes the dough less sticky and much easier to handle/knead.
After breakfast, add the salt. This is not only for flavour but does something to the dough so don’t skip the salt. Sprinkle it on top and fold the dough over it while still in the bowl.
Then slap/stretch/fold the sticky dough for 10 minutes. Watch the video to see just one of many kneading techniques. When you’ve got it down pat you’ll be able to transform the sticky dough into smooth elastic dough without putting any extra flour on to your work surface.
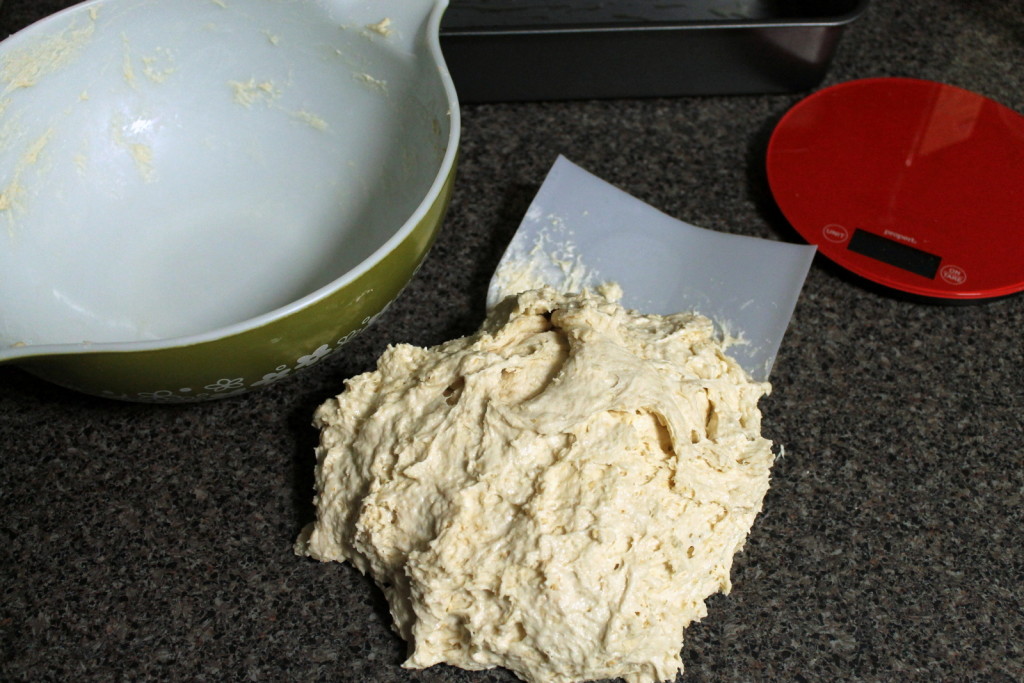
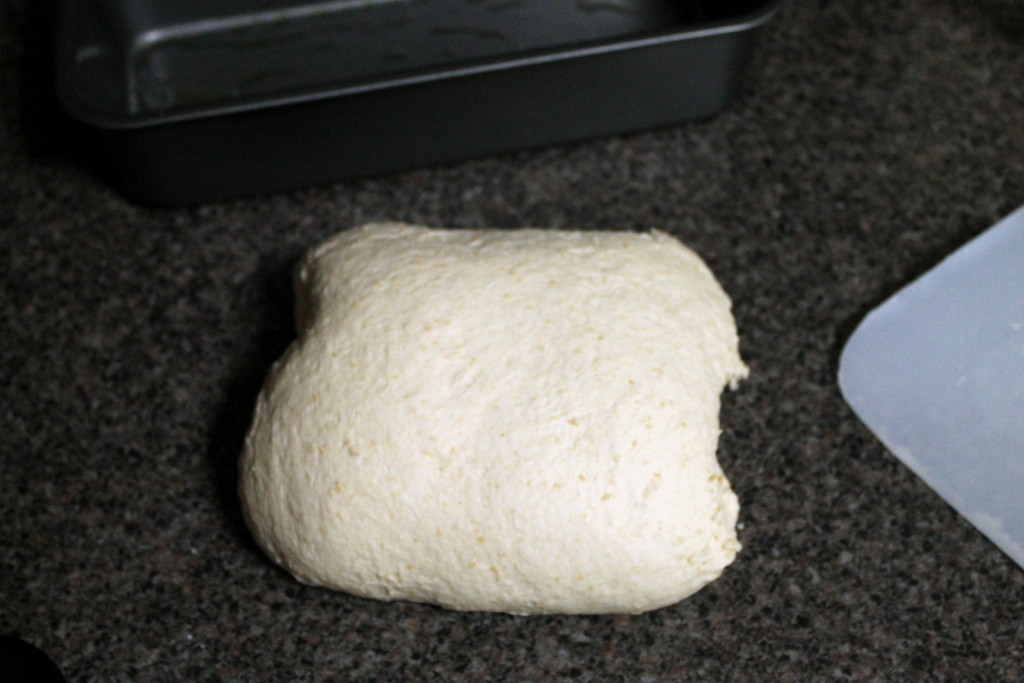
When the dough is looking and feeling gorgeous (smooth and elastic), shape into a log and plop into a LARGE greased loaf tin.
To make the log shape, sprinkle a bit of flour onto your work surface and flatten the dough lightly into a rectangle. Fold the top down to the middle, press the seam with your fingers/knuckles, then fold the bottom up and press again.
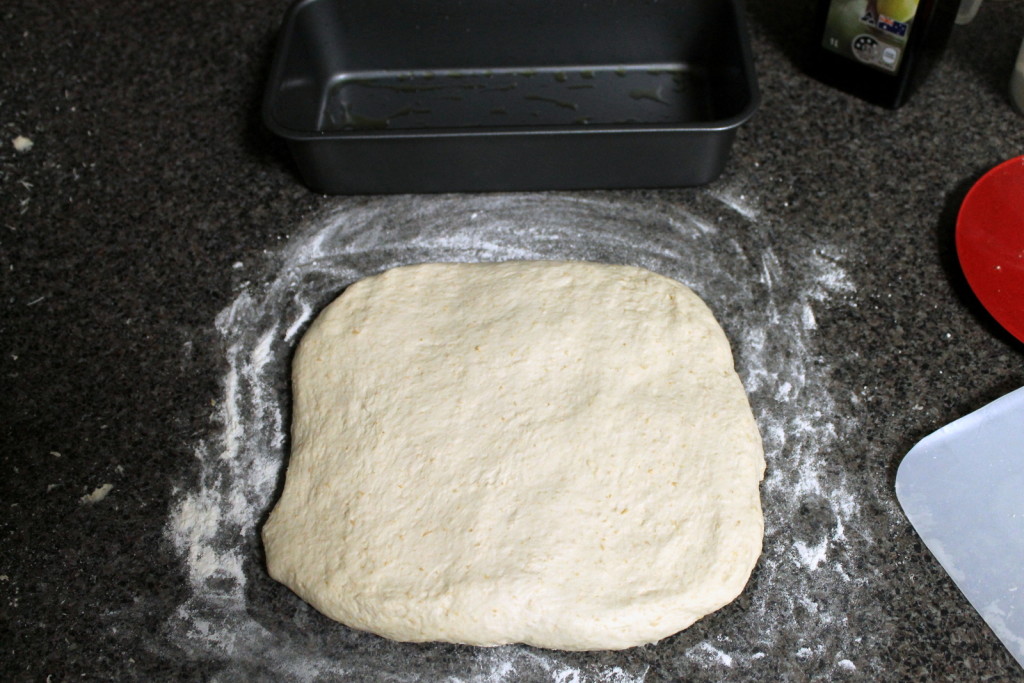
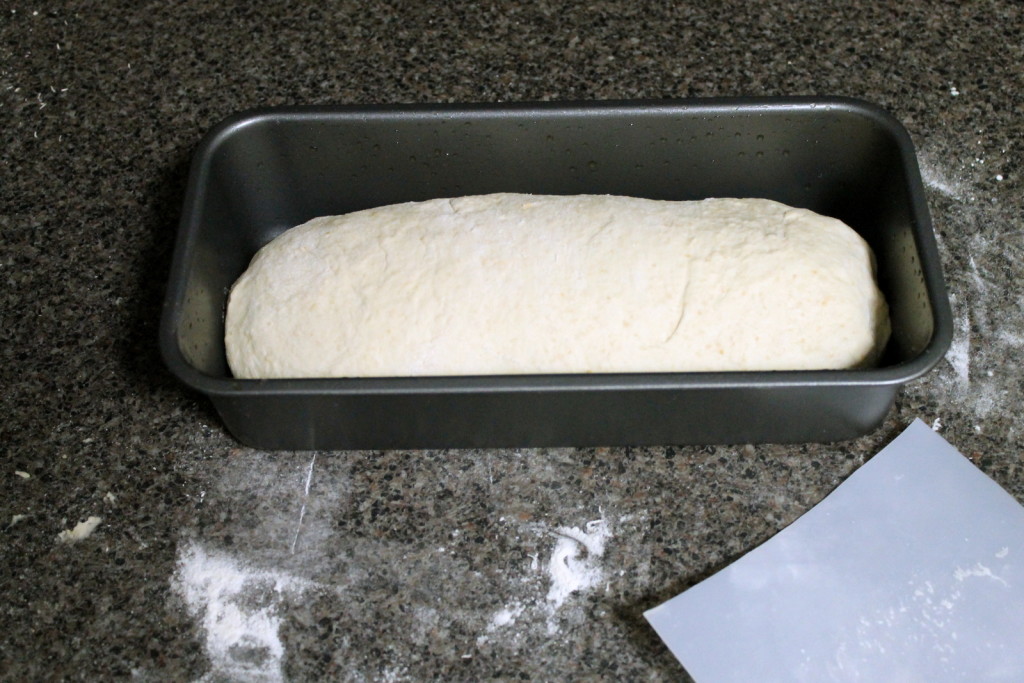
Cover and leave for 4-6 hours or until dough has doubled in size.
For a tastier, more sour loaf, cover and leave for 8-12 hours in the fridge.
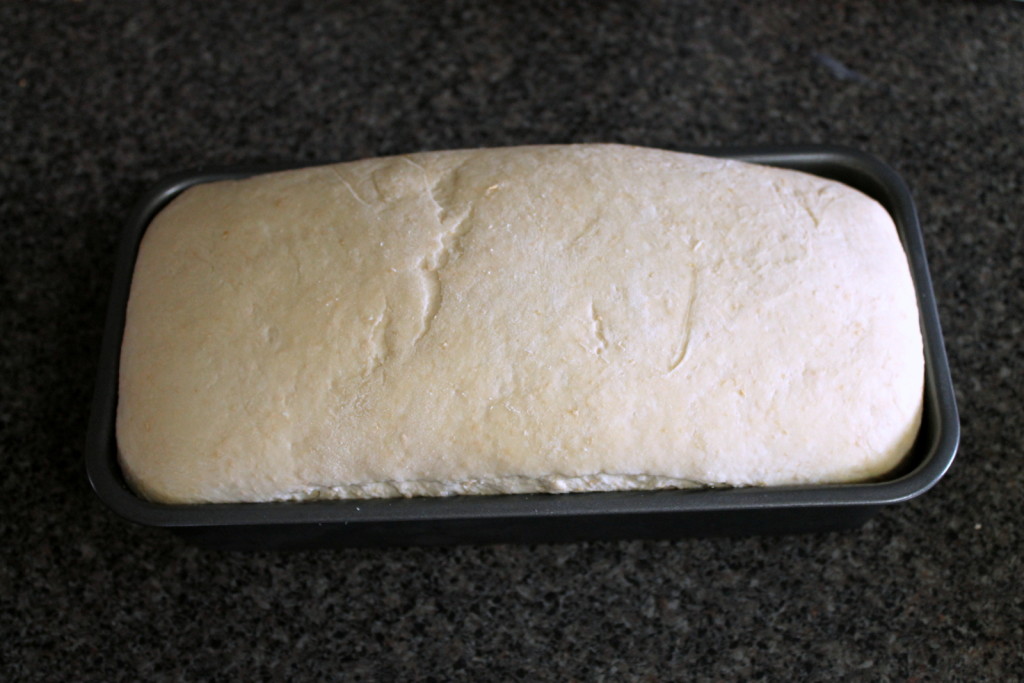
Heat oven to MAX (230/250c) and bake for about 40 minutes. Water/ice-cubes in the bottom tray create steam just before putting loaf in which helps create a great crust.
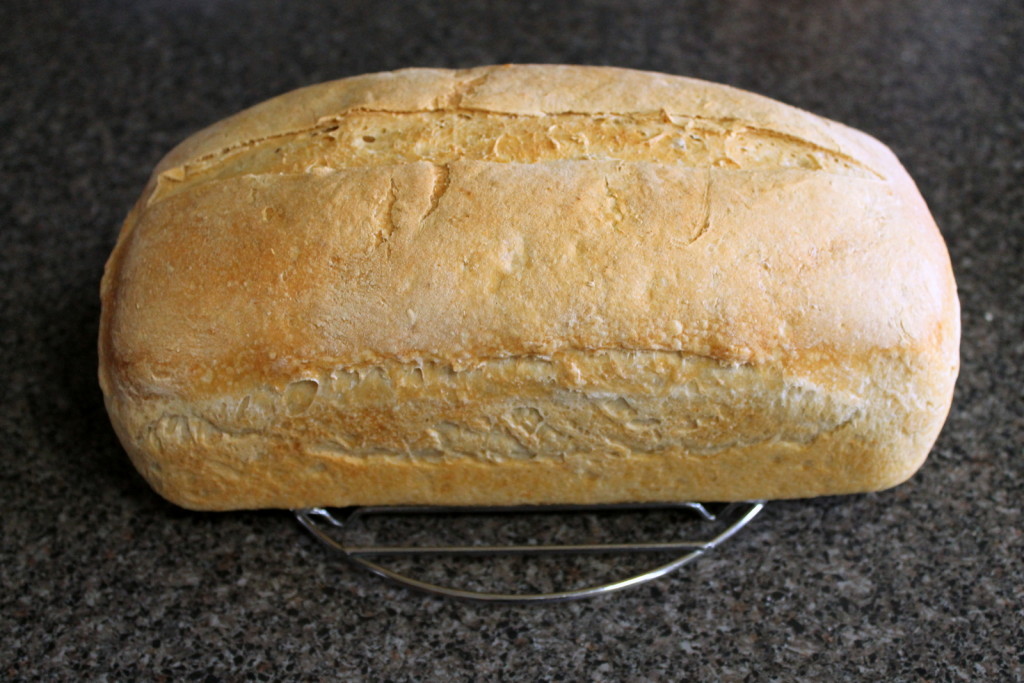
This is what I do:
10min @ 250c
20min @ 200c
Remove from tin and put back into oven for 10min.

YUM!
* Use cooled boiled water if your tap water is heavily chlorinated.
Tip: If the loaf is too large you can reduce the amounts of flour & water by about 1/2 a cup. (Or… just use a smaller cup!) I’ve also tried this recipe with spelt flour: the spelt dough turned out to be much wetter than wheat dough so I added about 1/2 cup more flour. You can also try replacing the water with milk and adding egg white & cinnamon & sultanas with your flour in the morning for a yummy sultana bread.
Another tip: for a softer crust, simply wrap your bread in a damp tea towel after removing it from the oven and the tin.




Thank you for the great recipe. I came here from the FB sourdough group we both belong too
aka Lara Q.
https://aboleyn01.wordpress.com/
I just tried this recipe and my dough came out very, very sticky. I watched the video on the fold/slap, and tried for quite a while to see if it would get un-sticky with the kneeling, but it didn’t help. I even added more flour, but it was just very sticky. I scooped it into my bread pan anyway and am goin to bake it. It didn’t proof very high either. I’m not sure what I did wrong. The only thing I know that I messed up is after I added the second amount of flour, I let it autolyse, then realized I only added half the flour, so added the second half of the flour and let it rest again. Then I proceeded as per the recipe. Could that have really messed up my bread that much? Thanks. Kathi
Hi Kathi, what type of flour did you use? I find spelt/wholewheat to be stickier than white flour. Also, I find that kneading sticky dough with WET hands is much easier than kneading with extra flour. Just keep a bowl with a little water in it on the work bench and dip your hands in to that. Use extra flour when you get to the shaping stage before the loaf goes into the tin. Hope that helps a bit. Good luck!
http://www.clothbooksforbaby.com/
Hi,
This is exactly what I’ve been looking for. Did you use a 9″x5″ loaf pan?
Glad you like the recipe Joyce 🙂 My pan measures 10.5″x4.5″ at the bottom and just a bit larger than 11″x5″ at the top. It was the biggest I could find.
Where on Earth did you find such a large loaf pan? I have been searching for a long time and have not seen any listed in the sizes you mention!
Woolworths 🙂
I have been searching for 9 months for a recipe that approximates the flavors in “San Francisco” sourdough. Not only is this the easiest sourdough recipe I’ve ever tried but it is the first one that received rave reviews from all my tasters.
https://www.flickr.com/people/elliotdrosen/
Yay! That’s good to hear. Thanks for sharing 🙂